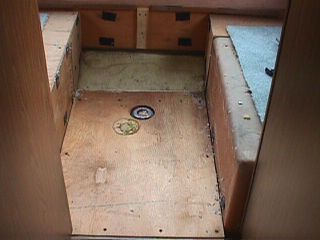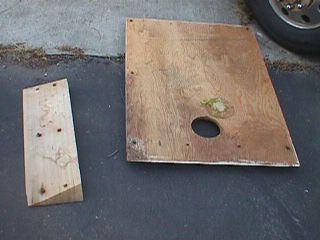

| The tilt bed portion of this project requires no special tools or skills. The first step is to remove the floor lift that originally allowed the feet of vertically challenged folks to reach the floor under the table. The ramp and lift are attached to the floor with large screws. |  |
 | Remove both of the boards and the table plate so there is now a flat area for storage or a drawer. |
| Brackets are in place to hold the new bed frame since the bench seats were convertible into a bed. I raised the bed about six inches by building a frame using two by six redwood boards. Redwood was the lightest wood I could find at my lumber supply. Six inches was the optimum height since during installation the mattress will just slide over the top of the frame and miss the ceiling. The entire frame was screwed together with construction angle brackets. I wanted to make everything removable just in case I needed to make a change later or get in to remove the water tank located under one side of the bed. I put in a center cross rail so that I could support the two-piece mattress board. I used a ½ inch mattress support board to keep the weight down. The mattress board has to be two pieces unless you glue it together in place because it will not slide into the space as a one piece board. |  |
 | I cut a shaped board to fill the remainder of the space between the mattress board and the rear of the coach. The filler board is screwed to the wood frame. The filler board allowed me to use a standard four foot wide board for the mattress board and provides a place for the mattress to sit when it is in the raised position. The filler board and the mattress board attached to each other with a piano hinge. |
| The split mattress board was joined into one piece by using galvanized flat construction plates with holes pre-drilled. Lots of screws were used to attach the two pieces in the middle. |  |
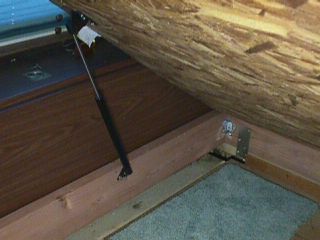
 | Gas cylinders are used to help raise the bed and hold it in the up position. Cylinders with eighty
pound of force are needed to provide the proper lift and will support the bed in the up position.
The cylinders were attached 29 inches back from the front of the bed frame.
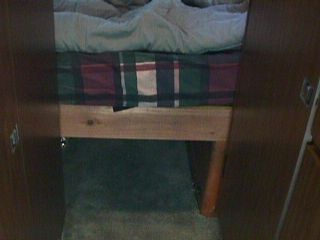
The bed now lifts up to provide access to a four foot by six foot by six inch storage area. |
| The old foot-well of this area is an excellent spot for a drawer that will pull into the walk area in front of the bathroom. This is the next project that I will copy from Al. The beauty of this bed is that the pump and fresh water area are easily accessed and now there is a great storage area for those long folding chairs. |  |
| 2 ea. | 2" X 6" X 74 3/4" Wood Side Rails | ||
| 3 ea. | 2"X 6" X 48" Wood Cross Rails | ||
| 8 ea. | 2" Galvanized Angle Brackets | ||
| 2 ea. | 2" X 18" Galvanized Plates | ||
| 2 ea. | 20 inch 80 lb Gas Cylinders | ||
| 1 ea. | 4' X 74 3/4" ½ inch Plywood | ||
| 1 ea. | 6" X 74 3/4" ½ inch Plywood | ||
| 1 ea. | 84" Piano Hinge |
member of |
||||
 |
 |
Analysis by |
||