[Home]
[FAQ]
[GMCnet]
[Resources]
[Commercial Advertising]
[FSBO]
[Gallery]
[Commodore]
[Tech]
[What's New]
[Contact]
[Marion]
Plastic Hubcaps
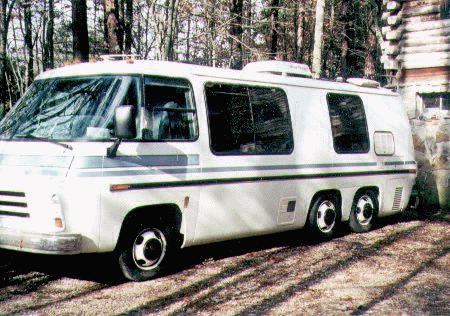
Courtesy of Phil StewartThe goal of this project was to improve the appearance of the OEM steel wheels by replacing the original and by now badly dented OEM aluminum wheel covers.
CAUTION: Because this project involves drilling two small holes in each wheel, anyone attempting this modification will undoubtedly be weakening the wheels. However, I have driven my coach over 10,000 miles as of 1/1/99 with these modifications and no signs of cracking have developed from the holes. It is always important to keep the lug nuts tightened to the 250 ft.-lb. torque specified by GM for these wheels.
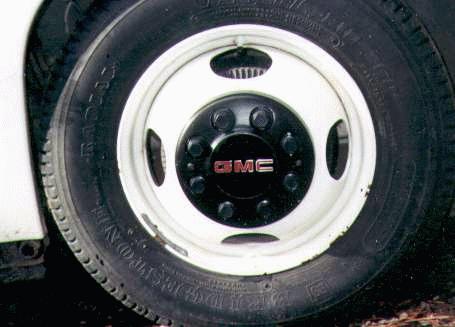
 | Since my budget would not allow for Alcoa wheels to improve the appearance of the of my 1976 Transmode, I decided to in install the black ABS plastic hubcaps that GM uses as stock equipment on many of its late model 3/4 ton pickup trucks. The part number for the 8-lug hubcap is 15551460. The same hubcap is used on both GMC and Chevrolet trucks with the appropriate logo distinguishing the two. Also required are the plastic caps which cover the lug nuts and studs. These lug caps are GM part number 15646250. Dealer price for the hubcap is about $35. The lug caps are about $3 each, making the total cost too great for me if new parts from the dealer were used. Fortunately I was able to find 7 used hubcaps at the local salvage yards for an average cost of $10 each. A local van customizing parts dealer had the lug nut caps in bags of fifty or so and let me have the 56 caps at 50 cents each. So the total cost per wheel was approximately $15, making the project affordable in my case. |
| On my coach I had previously painted the wheels to match the color of the body. However, the lug nuts and studs were rusted and the paint around the bolt circle was chipped and scratched from removing and replacing the wheels. The plastic hubcaps neatly covered these scuffed areas. | 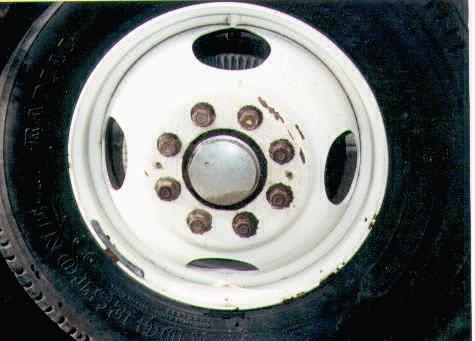 |
 | The hubcaps have stainless steel spring brackets that center the caps on the wheels and somewhat clamp them to the lug nuts. However, test drives showed that the brackets alone where not enough to hold the hubcaps on. Two 5/32" holes were drill 180 degrees apart though the hubcaps from the back to allow 1 1/2" 10-24 oval head stainless steel screws to be inserted and fasten the caps to the wheel. There are injection molding tabs on the inside of the caps which will guide the drill bit. |
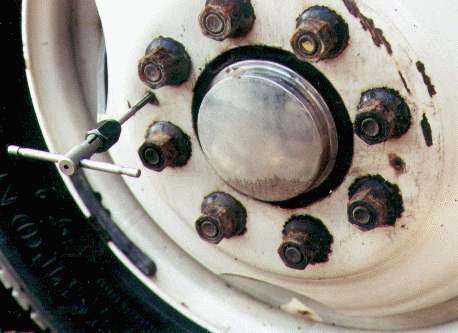
| Next, the hubcap was placed on the wheel and a sharpened nail used to punch marks where the pilot holes for the screws are to be drilled. Be sure to label each cap so that it will go back on the same wheel it was used to mark the screw holes. Remove the caps from the wheels before drilling the pilot holes. | 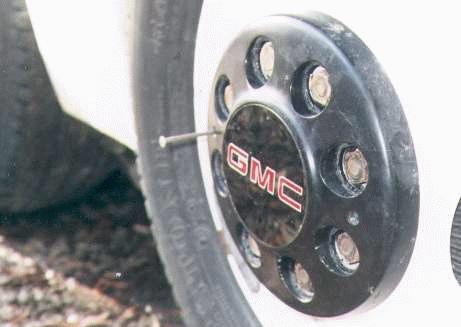 |
 | The two holes for the 10-24 screw threads are next tapped in each wheel. It is easier to drill and tap the holes by removing the wheels from the coach and laying them flat on the ground. Again, note that the screw holes are spaced 180 degrees apart. |
| A counter-sinking bit is used to form the recess for the oval head screws. Go easy with this step to avoid cutting too deeply into the face of the hubcap. There is enough material for the recess if it is not cut too much. | 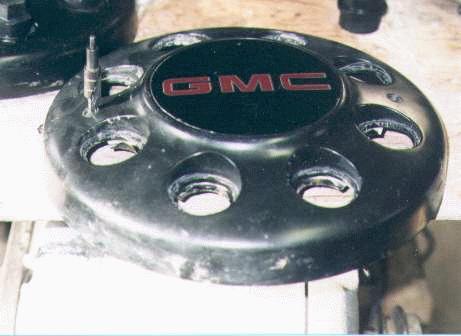 |
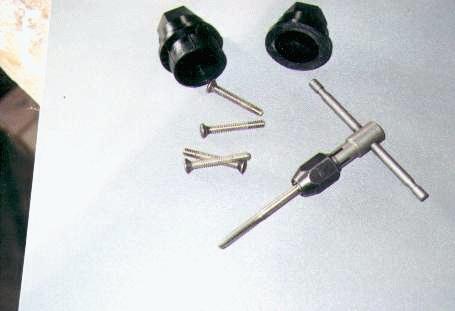 | Its difficult to see in this picture but the 15646250 plastic lug nut caps have a 1/2" long skirt on their base as in the cap on the left. This skirt is threaded on the inside and screws on to the OEM lug nuts used on the GMC or Chevy pickup truck wheels. This skirt is cut off with a hack saw, leaving a 1/8" flange. This flange allows the lug nut cap to be glued onto the hubcap to cover the lug nuts and studs. Also pictured are the 1 1/2" 10-24 oval head stainless screws and thread tap tool. The screws may have to be ground a little shorter if the counter-sunk hole for the screw heads goes too deep. The head of the screws can be dipped in black paint to make them blend in more with the hubcaps. |
| Use epoxy glue to fasten the lug caps to the hubcap. Even though the parts are ABS plastic, don’t use the black plumber’s glue in a can which is used on plastic pipe fittings. It is not strong enough and the lug caps will come loose. I thought it looked better to align the lug caps all in the same direction with the top and bottom flats running parallel with the GMC logo before the glue set. |
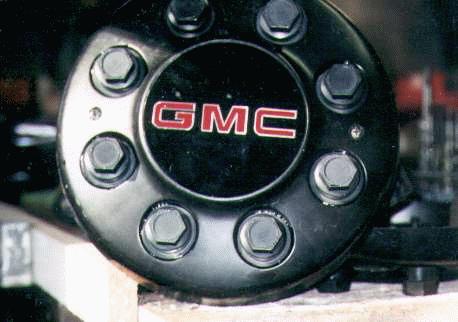 |
 | Install the hubcaps with the stainless steel screws and the project is finished. |