
 |
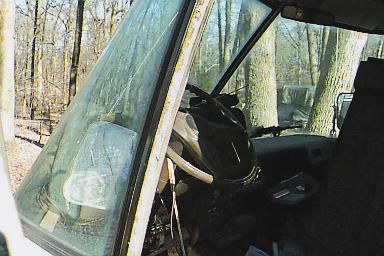
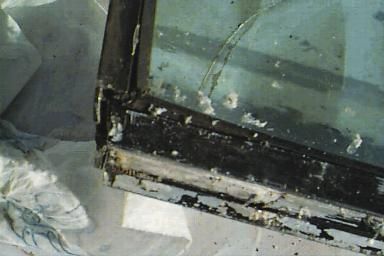
Most of you have seen the series of pictures where I replaced the felts and seals on the sliding windows. The next big rain the floor was wet again below the windows. Waited for the next rain. When it came, I fixed myself a drink and armed with a flash light, I sat for the next two hours watching the water come in. This is the channel that the window frame goes into. You must pry the back part of the window out a little then slide the window out toward the rear of the coach. |
| Now here is the real problem. There was a hole large enough to stick this screwdriver into. Just above the blade you can see the dark streak on the body. The window was not sealed there. The water would come in and run all the way down and exit below the side panel. | 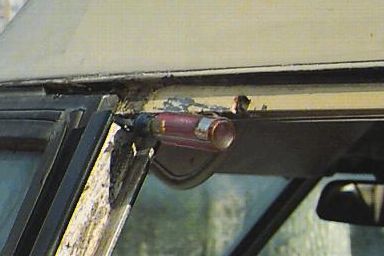 |
 |
This is a picture of the point where the channel attaches to the side frame just below the plastic side panel. It looks like it has been leaking there for some time. Note all the water streaks. This is all on the drivers side. |
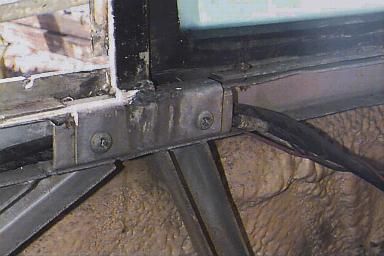
| The tape that was the sealer was hard and brittle across the top. With entire pieces missing. The driver's side had to be pried out with considerable force. Passngerer's was much easier. The problem was the frame had expanded because the bolts holding the frame together had all rusted out. | 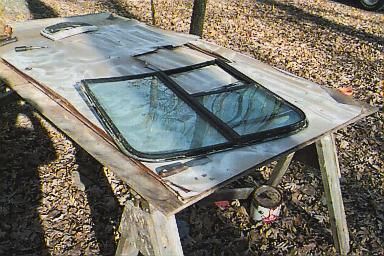 |
 |
OK - headache number 78. So much water had leaked down the channel that the steel screws that hold the frames together had rusted through. It turned out that the frame fell apart as we were talking it out. I knew I was going to be sending Dave a note - well I did not break it. Thats why there are no pictures of it coming out. |
| These puppies chewed up a good part of the day. The screws were very hard. Could not get a drill to cut them. Not only that we could not avoid drilling the softer frame. After much $#@#%$ decided to try something radical. I am very glad none of you were watching. Got out my 24 inch screwdriver/problem solver. Put it in the slot just behind the screw pried the slot open while my friend Jerry used an awl to stand the screw up as you see it here. IT WORKED! |  |
 |
Then we masked off the windows and painted. |
| I never want to do this job again. So we replaced all of the screws in the frame with #6 one inch stainless steel screws. Driver's side went in much easier that it came out. | 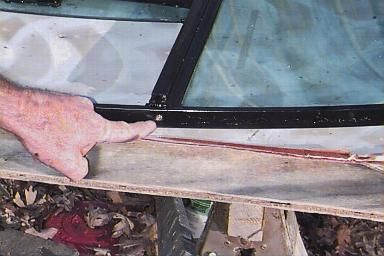 |
 |
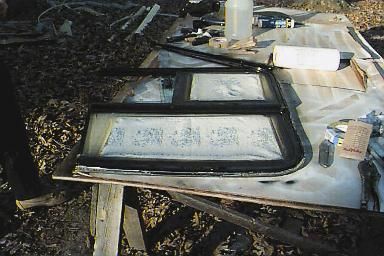
This is Jerry putting the window back in. We thought we had a problem. The window would not go forward enough to slip into the channel. After pushing on it for a while we found the problem. We had shot so much sealant into the channel the window could not go in. We just kept pressure on it until enough oozed out and the window went in very easy. |
| Remember the screw driver stuck in the hole. With all of the sealant we had put on that frame I could not believe what I saw when we went inside. The hole was still there. Thats the white dot on top of the frame. Filled it from the inside and out to close it off. |  |
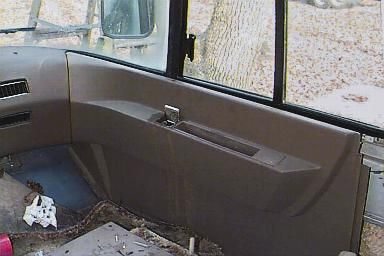 |
On the pass side the plastic side panel fit tight enough that the water
ran down the outside of the plastic. Of course filling the ashtray. Now
maybe I can put in the new ashtrays Jim Bounds sent me. Thats what I did.
Cost - $16 two tubes of sealant, screws, and paint. Time - Two of us worked the whole day - about half of that was the darned screws. |
member of |
||||
 |
 |
Analysis by |
||