
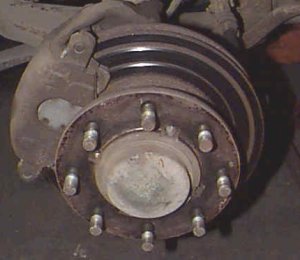
 | Pulling off the front wheels, the driver's side brake rotor looks fine, needing nothing but a slight turning to clean it up. But the passenger side, shown at left, is another story entirely. It looks like the last time the front brakes were renewed, the previous owner just stuck on another set of pads. |
| The rotor and hub assembly has been removed. The ball joints are the originals(riveted in place) with 128,000 miles on them. They will have to go and the half-shafts will also be rebuilt. In addition, it's now apparent that the steel brake lines running along the frame are severely corroded and will be replaced. | 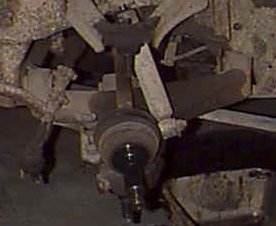 |
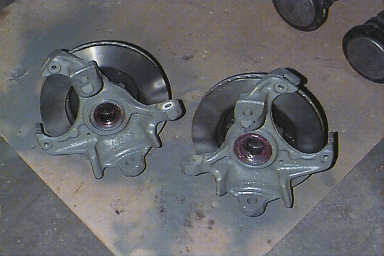
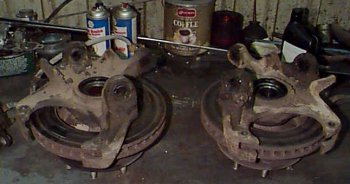 | Here are both rotor and hub assemblies, removed from the coach. The bearings are of indeterminate age and will be discarded for safety's sake. They will be replaced with matched pair bearings having adequate axial clearance for the motorhome application. Bearing selection is critical. According to GM specifications, bearings with less than .0095 inches axial clearance are unsuitable for motorhome use and will fail prematurely. |
| The drive axles and constant velocity joints appear to be in very good shape. The grease in the constant velocity joints was so old it looked more like 90 weight gear oil. The joints will be repacked with Mobil 1 synthetic grease and new "Super Boots" installed. | 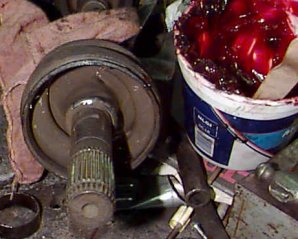 |
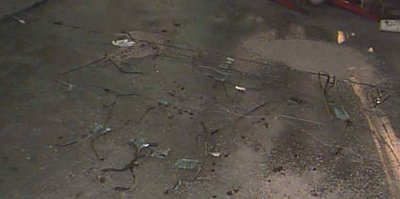 | It's difficult to see, but this photo shows all the steel brake lines removed from the coach and laid out on the floor. Many were so badly corroded that they crumbled when removed. Obviously, this is a serious problem for twenty year old motorhomes. |
| Arch originally planned to replace the steel brake lines with stainless steel tubing. Fabricating the required double lap flare in stainless steel is very difficult and he was unable to find a local vendor willing to do this work. A very good alternate was to use steel tubing that had been coated with lead and copper to make it corrosion resistant. Here are the tools and tubing ready for the job. | 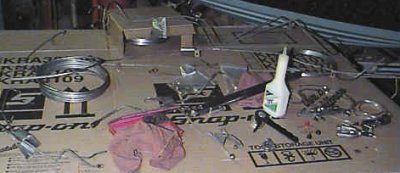 |
 | The ball joints have been removed. There are several methods for removing the old rivets, but whichever method is used, care must be taken not to damage the control arms. Also, the new copper/lead coated steel brake line can be seen in this picture. |
| New bearings, seals and a replacement rotor for the unusable passenger side rotor. The new bearings will also be packed with Mobil 1 synthetic grease. Also, in boxes on the left are the new 80mm calipers which will be used in the front brake upgrade. | 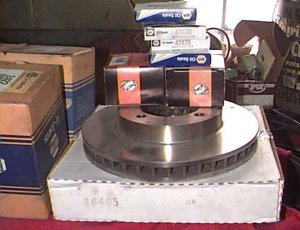 |
 | The new bearings have been packed and installed into the hubs along with the new seals. The rotors are attached and the rotor/hub assemblies are ready to be reinstalled. |
| The constant velocity joints have been rebuilt and packed with synthetic grease. Blue "Super Boots" and steel clamping bands have been installed. | 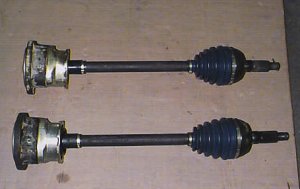 |
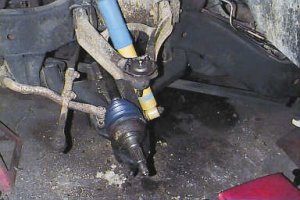 | The new ball joints have been installed and the half-shaft has been replaced. Also, new Bilstein single tube gas pressure shocks have been installed. |
| The hub/rotor assembly has been bolted up. Note that the hub cover has not yet been installed as the drive axle nut has not been torqued. The wheel must first be installed lowered to the ground to allow the specified 110 ft.lbs. torque to be applied. | 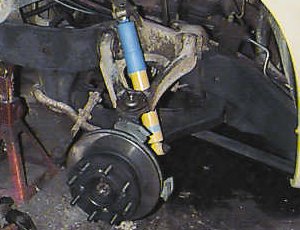 |
member of |
||||
 |
 |
Analysis by |
||